
How to Repair Kitchen Cabinets with Water Damage? Water damage is an all-too-common issue that many homeowners face, especially when it comes to kitchen cabinets. The key to tackling this problem is acting quickly—time is of the essence to prevent further damage and costly repairs. This guide will walk you through the steps you need to take to repair water-damaged kitchen cabinets effectively.
Learning how to repair kitchen cabinets with water damage can save you both time and money while preventing further damage.

Understanding the Nature of Water Damage
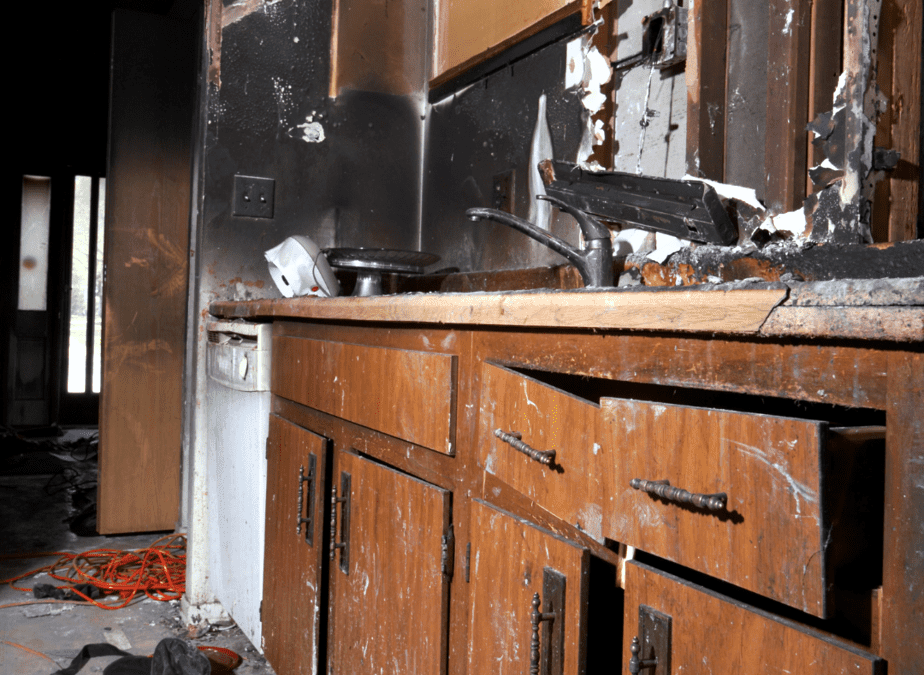
When it comes to kitchen cabinets, the materials used can range from plywood to Medium Density Fiberboard (MDF). Understanding how each of these materials reacts to water exposure can help you address the issue more effectively. For example, plywood tends to warp, while MDF can swell or delaminate. Visible signs include darkening wood and a musty smell.
How Water Damage Occurs
Water damage can occur in numerous ways, such as leaks, spills, or even high levels of humidity. The consequences of ignoring water damage extend beyond aesthetics—it can compromise the structural integrity of your cabinets and even foster mold growth.
Step-by-Step Guide to Repair Water-Damaged Kitchen Cabinets
Evaluate the Damage
Before jumping into repair mode, you’ll want to assess the extent of the damage. Look for signs like warped boards, unstable glue joints, and water stains. Make a list of the issues you observe so you can address them effectively.
Preparing for repair of kitchen cabinets
Gather all the necessary supplies, which may include carpenter’s glue, clamps, screws, and possibly replacement parts like new shelves or doors.
Repair Strategies
For delaminated MDF boards, consider using wood glue and clamps to re-adhere the layers. For swollen areas, sanding and repainting may be sufficient. However, if the damage is too severe, replacing the affected parts might be your only option.
Post-Repair Measures
Once the repairs are complete, focus on drying and treating the affected areas. This could involve using fans, dehumidifiers, or even treating for mold using speciality cleaners.
Professional Assessment
Sometimes, the best course of action is to consult a professional for an accurate assessment. Professionals can also assist with repairs, especially if structural issues are involved.
Initial Assessment: Knowing the Extent of repair kitchen cabinets
Before jumping into the repair process, it’s crucial to determine the extent of the water damage. You can follow these steps to assess your situation:
Inspect Under the Sink
The first step involves taking out a small section of the bottom of the sink base from the inside to assess the damage. This step is crucial for understanding how far-reaching the damage is and what course of action to take.
Check for Floor Damage
If you notice floor damage under the sink base, it’s likely that you’ll need to remove the complete unit and repair the floor accordingly. This usually indicates a more severe case of water damage that could compromise the integrity of your kitchen setup.
Inspect the Base for Rot
If you suspect the base is rotted from water damage, consider cutting out a small section of the floor base of the cabinet to inspect the actual floor underneath. This is only advisable if you can’t view the condition from a basement or crawl space.
Repair Based on Construction Type: Wooden Dowels, Metal Cams, and Pegs
Understanding the construction of your water-damaged kitchen cabinets is crucial for determining the best repair strategy. Here are some things to consider:
Assess Cabinet Construction
The construction type, whether it involves wooden dowels, metal cams, or pegs, dictates the disassembly process and the kinds of repairs you can do. Gaining access to the side panels will require different steps depending on this.
Remove the Base if Necessary
If the base is damaged, cutting it away can expose the fixings and help you understand how the cabinet is held together. This is particularly useful if you’re considering a DIY repair.
Consider the Centre Post
Often, the centre post is dowelled in place and will need to be removed for a thorough repair.
Insert the New Base
The new base can be held in place with metal strap brackets or plywood strips, which are pre-screwed to the underside of the new base. The operation can be a bit fiddly due to the limited gap where the plinth sits, but it’s doable with a stubby screwdriver.
DIY vs. Insurance Job
Your approach to the repair may differ depending on whether it’s a DIY project or covered by insurance. Insurance jobs usually entail more extensive repairs, often opting for complete unit replacements instead of localized fixes.
Troubleshooting Water Damage Sources: Lessons from RV Owners
While our focus is on kitchen cabinets in homes, RV owners, like those with the 287bhsw model, face similar challenges and their experiences offer universal lessons. Here’s how to pinpoint common sources of water damage:
Step 1: Check Roof Sealant Near Appliances
Places like the area by the fridge are susceptible to water intrusion if the roof sealant is compromised. Make it a habit to regularly check and reseal as necessary.
Step 2: Inspect Window and Door Seals
Bad door or window seals can also be culprits, especially around the corners by cabinets. Examine these closely for signs of wear and tear and reseal them if needed.
Step 3: Check Plumbing Fixtures
Ensure all sink and drain connections are tight. Leaky plumbing can wreak havoc on your cabinets over time.
Step 4: Examine External Vents
Don’t forget about the vents from external appliances like ovens. Water can seep in from these areas if they are not sealed correctly.
By investigating these problem areas, you can preempt water damage or at least understand its source for more effective repairs.
Conclusion
Water damage is more than a cosmetic issue—it can pose serious problems if not addressed promptly. By following this guide, you’ll be well-equipped to repair water-damaged kitchen cabinets and prevent future issues.
FAQ Section How to Repair Kitchen Cabinets with Water Damage
What are the signs of water-damaged kitchen cabinets?
Darkening wood, warping, and delamination are common indicators of water-damaged kitchen cabinets. Other symptoms may include a musty smell or visible mold.
Is it possible to fix water-damaged MDF cabinets?
Yes, water-damaged MDF cabinets can often be repaired using wood glue and clamps for delamination or sanding and repainting for swollen areas. However, in severe cases, replacement may be the only option.
How can I protect my kitchen cabinets from future water damage?
Consider using waterproof shelf liners, waterproof stain sealants, and regularly checking for leaks to protect your cabinets from future water damage.
Can badly damaged cabinets be salvaged or should they be replaced?
The extent of the damage will determine whether the cabinets can be salvaged. If structural integrity is compromised, replacement is often the best course of action.
What are some preventive measures to avoid water damage?
Regular inspections for leaks, using waterproof shelf liners, and applying waterproof stain sealants can go a long way in preventing future water damage.