
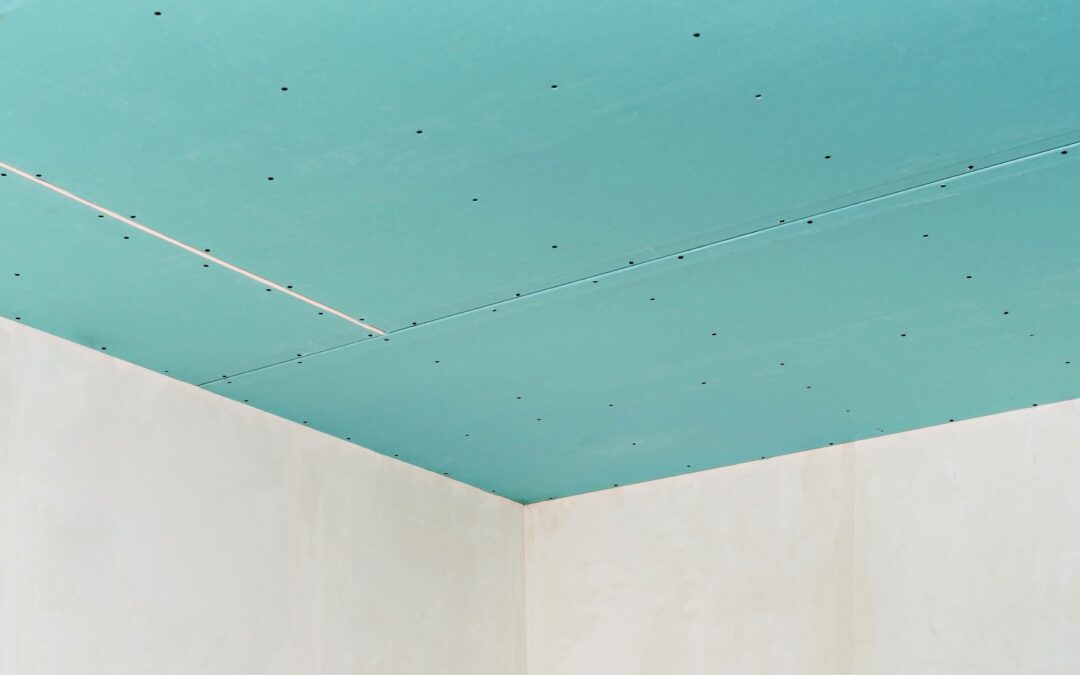
Water damage to a popcorn ceiling can be a frustrating and unsightly problem. While popcorn ceilings are known for their textured look, water damage often results in discoloured, cracked, or even sagging sections. If you’re wondering how to repair popcorn ceiling water damage, don’t worry—it’s a fixable issue!
With the right tools and techniques, you can restore your ceiling to its original condition without having to replace the entire surface. In this guide, we’ll walk you through the steps to repair your popcorn ceiling and address any underlying issues that may have caused the damage in the first place.
Understanding the Source of Water Damage
Before diving into the repair process, it’s essential to identify and address the source of the water damage. Whether it’s a leaky roof, burst pipe, or condensation from an HVAC system, fixing the root cause is crucial to prevent future damage. Once the source of moisture has been fixed, you can move on to repairing the ceiling itself.
Tip: If you’re unsure where the water is coming from, it might be helpful to consult a professional plumber or roofer to assess the situation. Skipping this step could lead to recurring issues down the line, even after the ceiling is repaired.
Let’s Dive into How to Repair Popcorn Ceiling Water Damage

Prepare the Room
Water damage repairs can get messy, especially when dealing with textured surfaces like popcorn ceilings. Start by preparing the room to protect your furniture and floors. You’ll want to cover everything with drop cloths or plastic sheeting, as the repair process might involve scraping, sanding, or applying a new texture.
Here’s what you’ll need:
- Drop cloths or plastic sheeting
- Painter’s tape
- Safety goggles
- Dust mask or respirator
Make sure also to turn off the power to any light fixtures if the water damage is near the electrical wiring.
Remove the Damaged Area
Once the room is prepped, it’s time to tackle the damaged section of your ceiling. To start, use a putty knife or scraper to remove any loose or peeling texture from the water-damaged area. If the popcorn ceiling is sagging, you may need to remove the entire section of texture that’s affected.
Note: If your home was built before 1980, there’s a chance that your popcorn ceiling contains asbestos. It’s a good idea to have the ceiling tested for asbestos before attempting any repairs. If asbestos is present, you’ll need to hire a professional to safely remove and repair the ceiling.
Dry the Area
Before making any repairs, it’s crucial to ensure the area is arid. If the ceiling is still damp, repairs won’t adhere properly, and moisture could get trapped beneath the new material, leading to mold or further damage. You can use fans or a dehumidifier to speed up the drying process.
Apply a Stain-Blocking Primer
Water damage often leaves behind unsightly stains, and simply applying new popcorn texture won’t hide them. To prevent the water stains from bleeding through the new texture, apply a stain-blocking primer to the area. Be sure to use a primer designed for water damage and allow it to dry fully before proceeding to the next step.
Reapply Popcorn Texture
Once the damaged area is primed and dry, it’s time to reapply the popcorn texture. There are a few options for doing this:
- Popcorn Ceiling Spray: Many home improvement stores sell aerosol cans of popcorn ceiling texture. This is a convenient option for more minor repairs.
- Textured Ceiling Patch Kits: These kits typically include everything you need to patch a small area, including texture material and application tools.
- DIY Texture: If you’re repairing a large section of the ceiling, you may want to mix your popcorn ceiling texture. This can be applied with a spray gun or a textured roller, depending on the size of the repair.
When applying the texture, aim to blend it into the surrounding ceiling as seamlessly as possible. Feathering the edges of the repair will help it look natural once it’s dry.
Paint the Ceiling
After the new popcorn texture has dried (typically 24 hours), you’ll need to paint the repaired area to match the rest of the ceiling. Choose a flat ceiling paint that matches the colour of your existing ceiling. For the best results, use a paint sprayer or roller with a thick nap to apply the paint, which will help preserve the texture.
If the repaired area stands out due to fresh paint, consider repainting the entire ceiling for a uniform look.
Preventing Future Water Damage
Now that you’ve learned how to repair popcorn ceiling water damage, it’s essential to take steps to prevent future issues. Here are some preventative measures to consider:
- Fix Leaks Promptly: Whether it’s a leaky roof or a plumbing issue, addressing water leaks quickly can prevent damage to your ceilings and other parts of your home.
- Improve Ventilation: In areas prone to moisture, like bathrooms and kitchens, ensure proper ventilation to reduce condensation.
- Inspect Your Home Regularly: Periodically check your home for signs of water damage, such as stains, peeling paint, or mold. Early detection can prevent costly repairs.
Conclusion
Fixing water-damaged popcorn ceilings isn’t child’s play – it’s like juggling while riding a unicycle. No worries! You’ve got the tools, the know-how, and the patience to rock this challenge. By nailing the root cause, prepping like a pro, picking the right repair buddy, and sticking to the plan, you’re on your way to restoring your home’s groove.
FAQ of How to Repair Popcorn Ceiling Water Damage
Can I Rescue My Water-Damaged Popcorn Ceiling?
Absolutely! As long as it’s only the texture that’s taken a hit, you’re in business. But wait – put the brakes on and fix the source of the water trouble first. You don’t want history repeating itself.
Handling Water Stains on a Popcorn Ceiling?
For minor stains on your white ceiling, play chemist with a DIY bleach spray. Stubborn stains that are playing hard to get? Bust out the big guns with an aerosol sealer like Kilz.
Damaged Ceiling, No Removal? Can I?
Absolutely! Skim coating is the name of the game. Slap on a thin layer of joint compound or plaster and watch your ceiling transform from damaged to dazzling.
Repairing Costs: How Much We Talking?
Money talk? Well, it’s like asking how long a piece of string is. Small DIY repairs? They are as cheap as chips. Bigger jobs? We’re talking anywhere from $200 to $800, depending on the complexity.
Fix Water Damage First or Nah?
No-brainer alert: fix the source before the repair. Otherwise, it’s like plugging a leaky boat with a sieve. Address that issue, and you’re on the right track.
Regular Paint on a Fixed Ceiling?
Technically, sure. But popcorn ceilings have a unique vibe that regular paint can’t handle. To keep that texture’s charisma, go for ceiling or textured paint.
How Long’s the Wait for a Dry Ceiling?
Ah, the million-dollar question. Drying times are like those of an unpredictable aunt who shows up when she wants. Water-based products might take 24 to 48 hours, while oil-based ones might drag their feet a bit longer. Just trust the label.
Stay Connected, Stay Fabulous
Want more DIY goodness? Our blog’s got you covered. Follow us on social media, and we’ll sprinkle your feed with tips and tricks. We’re your partners in crime for transforming your home into the place of your dreams. Whether it’s fixing popcorn ceilings or other home magic, we’re here for you. Need a hand?
- Reach out to Boston Fire & Flood:
- Address – Greater Boston,
- Phone – 339-675-1388